Hello! Today, I'm back sharing two more fun cards using the
NEW Club La-La Land Kit! Remember, you must subscribe before June 19th if you want this exact kit. You can find all the info
HERE!
For my first card, I kept things pretty simple so that the stamps and dies would really take center stage. First I trimmed a piece of white card stock into a rectangle and mounted it on top of the largest scalloped rectangle die cut with red card stock. Then I trimmed a strip of wood grain patterned paper and adhered that to the bottom of my panel to mimic a table top. I colored up my chihuahuas and cut them out with my Scan N Cut 2. Then I die cut my queso, guacamole, and taco. I used distress inks to give them some interest, layered them together and arranged the elements on my card. Then I added my FIESTA word die and layered it on top of die cut fun foam. To finish the card, I added lots of little triangles from the center of the lime die and added some white accents with my gel pen.
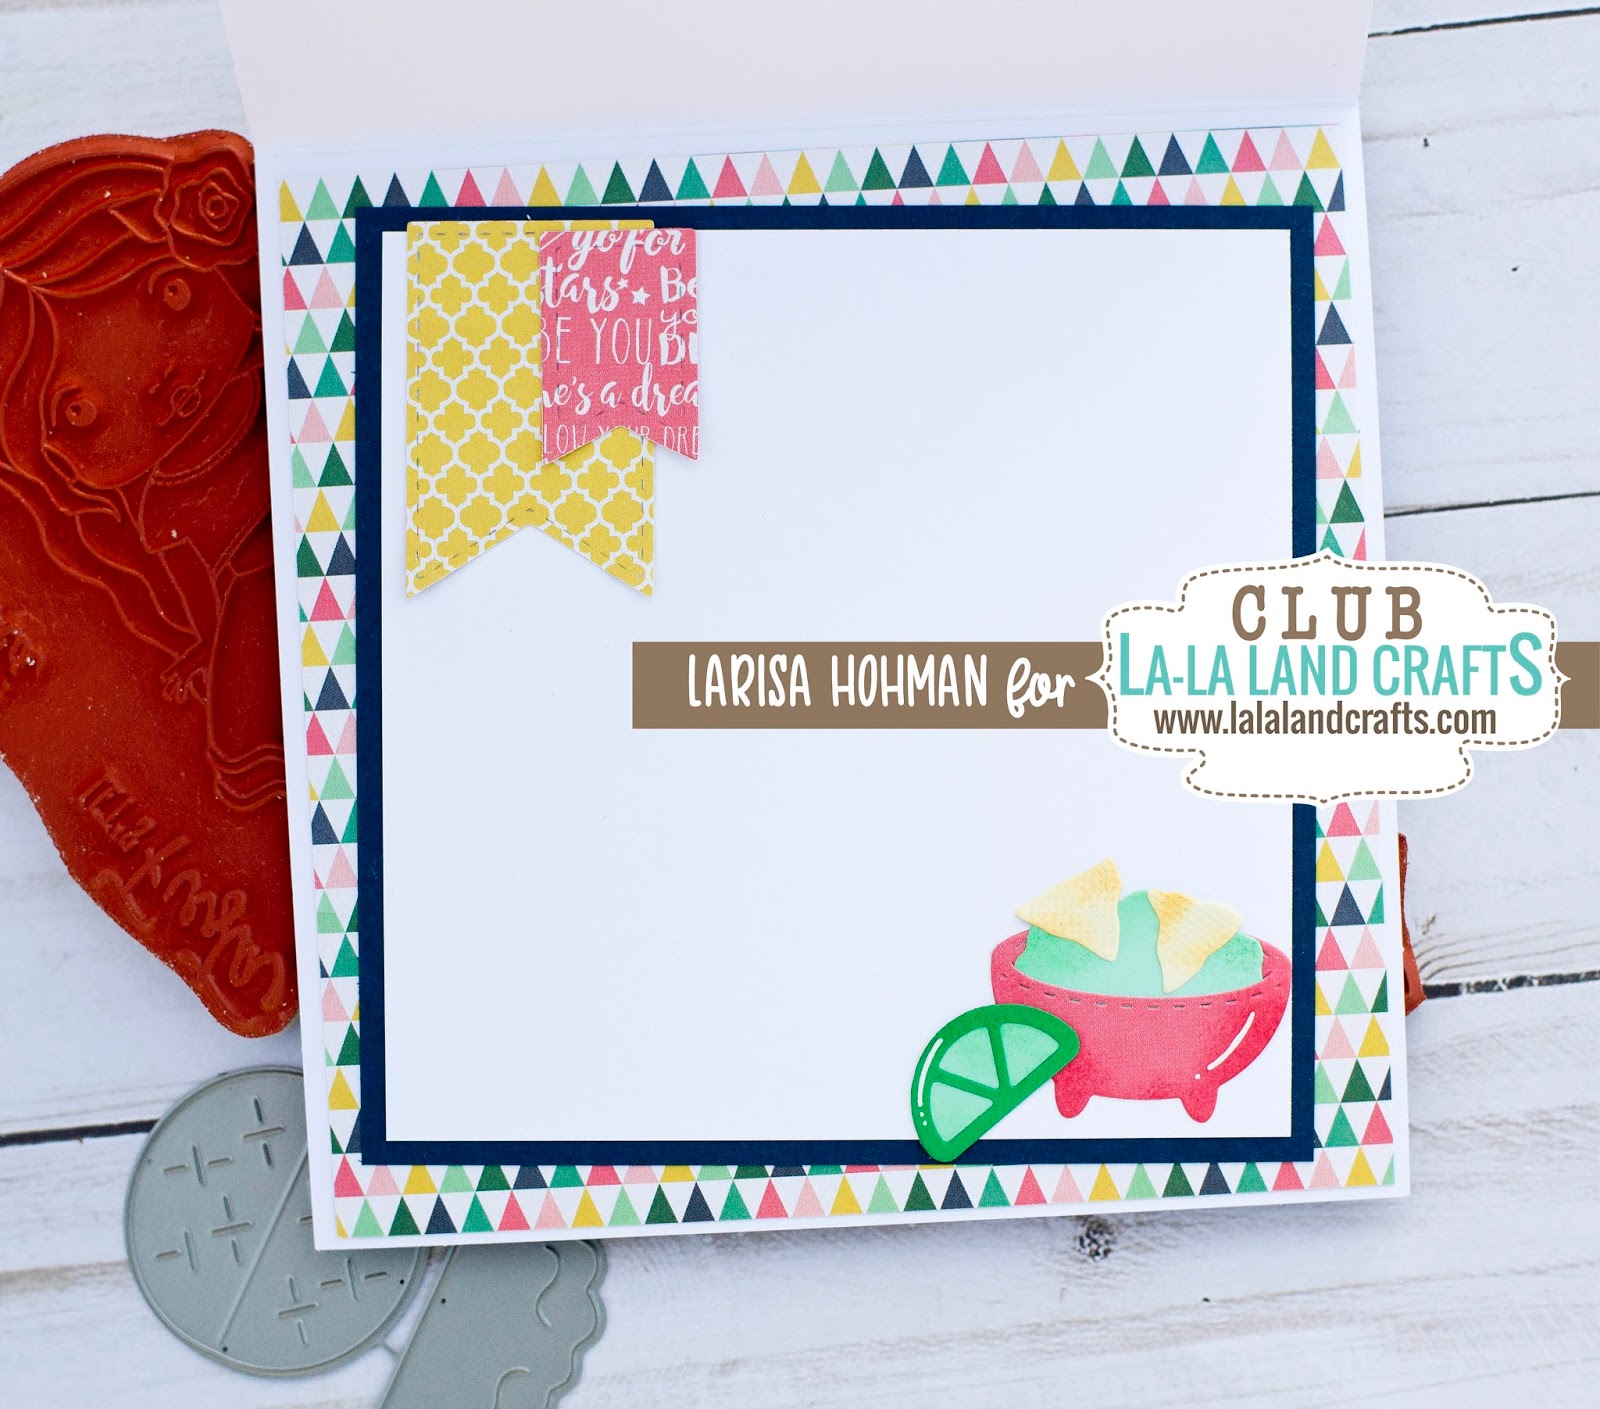
Here's a look at the inside:
Card Details:
Chihuahua Stamps
Taco Die
Guacamole Die
Fiesta Word Die
Copic Colors:
Chihuahuas: E30, E31, E34, E35, R20
My next card features Fiesta Marci. For this card I started with a simple striped patterned paper and trimmed it into a square to fit my card base. Then I layered some navy blue card stock behind it. I used my circle die to cut some patterned paper and layered that on top of a green scalloped circle. Then I adhered that to the left side of my panel and trimmed of the excess with my scissors. I colored up Marci and cut her out with my Scan N Cut 2. Then I adhered her to the center of the circle. I die cut my fiesta word from navy blue card stock, layered it on top of some fun foam and adhered that across the bottom of my card. Then I stamped out my sentiment, trimmed it into a rectangle, layered it on top of some mint card stock and popped it underneath the fiesta word. To finish my card off, I added a page flag to the top right corner of the card, popped my taco die on top, and added a few enamel dots.
here's a look at the inside:
Card Details:
Fiesta Marci
Chihuahua Stamp Set
Taco Die
Guacamole Die
Fiesta Word Die
Copic Colors:
Skin: E000, E00, E11, E04, R20
Hair: E43, E47, E49
Red: R20, R24, R27
Yellow: Y21, Y26
Teal: BG10, BG11, BG23, BG57
Green: G40, G43