Showing posts with label Guest Designer. Show all posts

Tuesday, March 31, 2020

The Greeting Farm Beach Babe Anya


Hello, hello!  Hope you are all doing well!  This is my last post this month as Guest Designer and I have had such a fun time creating for The Greeting Farm.  These images are so easy to work with and I've really enjoyed sharing my project with you guys!  

For my card this week, I used the very adorable Beach Babe Anya.  I think we could all use a touch of summer right about now! To create my card, I used some dies from my stash and layered them all together for my background. Using my Copic Markers, I added some texture to the sand by creating little dots.  Then I added some shading to my trees with distress inks.  I colored my Anya image and fussy cut her out. Then, I used some foam tape to pop her up on my scene.  A few enamel dots for each palm tree mimic coconuts.  To finish it all off, I added a die cut hello to the bottom corner.  


I just love how this turned out.  Such a fun, bright card to cheer anyone up!  

Again, thank you so much to The Greeting Farm for this opportunity to guest design this month.  I've had a blast!  

Hugs! Larisa

Card Details: 

Copic Colors:
Skin: E000, E00, E11, E04, R20
Hair: Y21, Y26, E87
Red: R24, R27, R56
Blue: B24, B26, B29, C7, C9
Orange: YR04, YR28
Green: YG21, YG25

Tuesday, March 24, 2020

The Greeting Farm - Aquarina

Hello,
I'm so excited to be back today sharing a sweet little mermaid shaker card using Aquarina from The Greeting Farm.  With everything going on, I thought we could all use a touch of magic this week.  

For my card, I started with some bight patterned paper.  I layered that in my background and even created a little shaker window featuring a school of fish and some pretty teal sequins.  Then I colored up my image using Copic Markers and fussy cut her out.  I used foam tape to pop her up on the right side of the shaker.  In my stash, I had some ocean themed die cut shapes so I added those to the scene as well.  I even found this holographic "fabulous" sentiment and added that to the bottom of the card.  It just seemed like the perfect fit!  

To finish everything off, I added some Stickles glitter to my mermaid tail and a few glitter enamel dots.  I just love how this turned out.  A bright and cheery card to lift all our spirits!  


Card Details:

Copic Colors:
Skin: E000, E00, E11, E04, R20
Hair: Y21, Y26, E87
Teal: BG10, BG11, BG13, BG57
Green: YG21, YG25, YG67
Pink: RV10, RV13, RV21, RV25

Tuesday, March 3, 2020

Guest Design Team Spot with The Greeting Farm!

Hello, hello!  I'm so excited to be guest designing for The Greeting Farm again.  My first Guest Spot was way back in 2012!  My how time flies!  For my project today, I decided to create some fun little gift tags using the oh-so-sweet Small Surprises Clear Stamp Set!  This set is just the cutest and can be used for so many different occasions!  


To create my tags, I started with a tag die from my stash.  I die cut some patterned paper for the bottom layer and then die cut a scalloped circle in white.  I created some 3 dimensional rosettes in various colors and layered those onto the white scalloped circles.  Then I layered a die cut circle on top of than and a little flag banner across the center.  I colored up these little cuties with my Copics and cut them out using my Scan N Cut 2.  Then I adhered them to the rosettes with some foam tape.  After attaching everything together, I added some strips of die cut card stock to the tops of my tags and used some white eyelets for the centers.  A little yellow bakers twine and some enamel dots finish these little tags off.  


I just love how these turned out.  They were so easy to make, but they really make an impact.  The will be an adorable addition to a treat bag, present, or even the front of a card!  

Thanks so much for stopping by!  Have a great day!  

Wednesday, November 28, 2018

La-La Land Crafts November Release Long Sweater Molli


Hello!  I'm back with yet another adorable stamp released by La-La Land Crafts this week.  The little cutie is called Long Sweater Molli and she's available in the La-La Land Crafts store NOW along with a ton of other stamps, dies, and stencils!  

For my card, i wanted to create something soft and elegant.  But you guys know I love my bright colors so I colored Molli up in bright red and kept everything else in soft, classic colors.  I used the new Sweater Weather Stamp set to create an accent circle in black and white as well as a little page flag.  I layered those behind my image and also included some green die cut wreaths.  Then I added a pine cone and a popped a red glitter bow on top of that.  I stamped my sentiment on top of this label that included in the new pocket die set.  

I just love how clean and classic this turned out.  Be sure top stop at the La-La Land Crafts Store today and check out all these new goodies just released.  You will love them!  


here's a look at the inside:


Card Details:
New Release Products:


Previously Released Products:

Copic Colors:
Skin: E000, E00, E11, E04, R20
Hair: E43, E47
Red: R24, R27, R56, R59
Grey/Black: W0, W1, W3, W5, W7


Tuesday, November 27, 2018

La-La Land Crafts November Release Deck The Palms


Hello!  I'm back again sharing another sweet creation using the new stamps and dies from La-La Land Crafts!  Today, it's all about Santa...on vacation!  This adorable set is called Deck the Palms and it features three different santa images, one palm tree, and several sentiments!  

For my project, I decided to create a tag using the new Tag Die set.  I then created some water with the Snow Stencil set, added a couple of palm trees, some sun, clouds, etc.  Then I popped my santa image on top with some foam tape and added my sentiment.  To keep everything looking festive, I added the greenery from the New Pine Bough Die set and added a glitter bow on top!  So much fun!


Thanks so much for stopping by!  Be sure to stop by the La-La Land Crafts Blog to see all the beautiful creations by the design team!  
Card Details:

Previously Released Products:


Copic Colors:

Skin: E000, E00, E11, E04, R20
Red: R24, R27, R56, R59
Green: YG21, YG25, YG67
White: C0, C1, C3

Monday, November 26, 2018

La-La Land Crafts November Release Cozy Christmas!


Hello!  Today, I'm so excited to be sharing La-La Land Crafts newest November Release!  Today, I'm featuring these adorable critters from the NEW Cozy Christmas Clear Stamp Set!  These sweet little animals are so much fun to color and even more fun to create with!  

For my card, I decided to use the NEW Snow Stencil set to create a winter background.  Then I layered up some die cut trees and snow to create my scene.  I popped my images on top with some foam tape and layered that on my die cut tag stamped with the new sweater weather background stamp, some pine bough greenery and a little Christmas wreath.  I just love how fun and festive this turned out! 


here's a look at the inside:


Be sure to hop over to the La-La Land Crafts Blog to see all the beautiful creations by the design team!  


Previously Released Products:

Copic Colors:

Mouse: C0, C1, C3, C5
Beaver: W1, W3, W5, W7
Moose: E30, E31, E35, E37, E49
Red: R24, R27, R56, R59
Green: YG21, YG25, YG67
Blue: BG10, BG11, BG32


Monday, November 19, 2018

La-La Land Crafts Gingerbread and Candycanes

Hello!  Today, I'm sharing a sweet holiday card from La-La Land featuring Gingerbread and Candy Canes. 
 
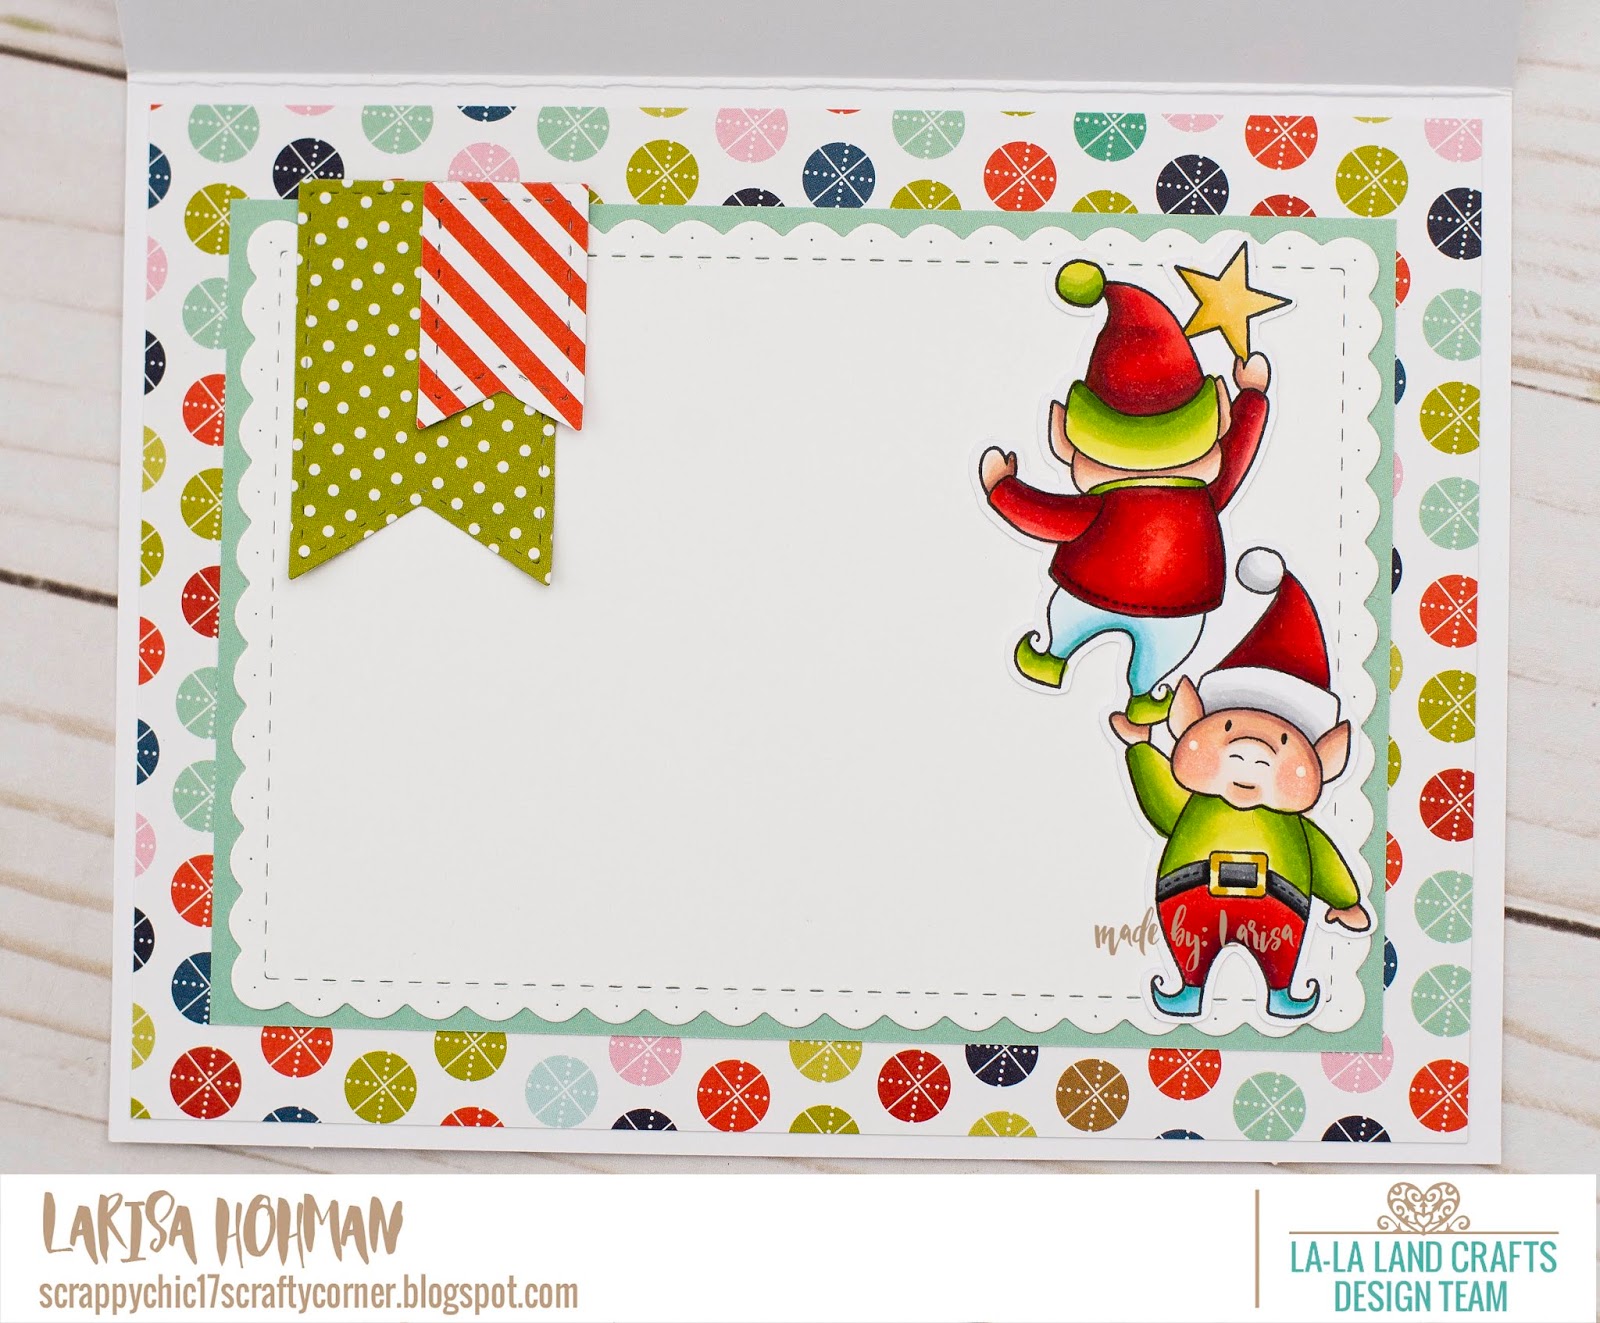
For my card, I decided to create a fun winter scene.  I used the Double Stitched Hills Border Die to create some snow banks and used the Build a House Die Set and the Gingerbread House Add On to create my little gingerbread house.  Then I colored up some elves and popped them on top with some foam tape.  I added a few trees to the background, a couple of gingerbread men and embossed my sentiment at the top.  Then I finished it all off with some snowflakes and a striped flag. 


here's a look at the inside:


Card Details:

Deck the Halls Clear Stamp Set: https://www.lalalandcrafts.com/Deck-the-Halls-Clear-Stamp-Set-_p_911.html


Copic Colors:
Skin: E000, E00, E11, E04, R20
Red: R24, R27, R56, R59
Green: YG21, YG25, YG67
Black: C5, C7, C9
B000, B00, B02


Monday, November 12, 2018

La-La Land Background Stamp

Hello!  This week's theme at La-La Land Stamps is background stamps.  However, I didn't have any background stamps in my stash so I decided to make my own.  I used the 3 little stars from the Jolly Elves Clear Stamp set and stamped them all over my kraft paper in brown ink.  Then I die cut that into a square and used that as one of my background pieces.  I layered it with several other patterned papers and added a couple of enamel dots.  Then I stamped out these little bats and added some holiday goodies in their hands.  I just love that you can use them year round depending on how you accessorize them!  Then I stamped out my sentiment on my banner and popped that on top with foam tape.  A scalloped border and some die cut flags finish it off. 
 
 
here's a look at the inside:


Thanks so much for stopping by!  Have a great day!

Card Details:

Batty For You Clear Stamp Set: https://www.lalalandcrafts.com/Batty-for-You-Clear-Stamp-Set_p_929.html
Deck the Halls Clear Stamp Set: https://www.lalalandcrafts.com/Deck-the-Halls-Clear-Stamp-Set-_p_911.html
Jolly Elves Clear Stamp Set: https://www.lalalandcrafts.com/Jolly-Elves-Clear-Stamp-Set_p_912.html


Monday, November 5, 2018

La-La Land Thank You Card!

Hello!  Today, I sharing a sweet little Holiday Thank You card from La-La Land Crafts!  For this card, I decided to create a cute little winter scene.  I stamped out my images and colored them up using copics. Then I die cut a square from patterned paper and added my birch trees and snow bank.  Then I added a couple of polka dot Christmas trees and popped my little hippos on top using foam tape.  I then added my sentiment and cute little bow and some Christmas greenery.  Nuvo drops create the berries and there you have it, one festive holiday thank you card! 

 
here's a look at the inside:

 
Card Details:
 
Copic Colors:
Hippos: W1, W3, W5, W7, R20
Red: R24, R27, R56, R59
Pink: RV000, RV21,
Blue: B37
White: C1, C3

Monday, October 29, 2018

La La Land Crafts Interactive Card

Hello! This week's theme at La-La Land Crafts is Interactive Cards!  So for my project, I decided to create a Halloween Shaker Card!  First, I chose some fun patterned paper and colored my image to match.  Then I cut a hole in the orange stripe paper to make my shaker.  I added some polka dot grass and a spooky fence to build a little scene.  Then I added my shaker bits and closed it up with some foam tape.  I popped my little witch on top with foam tape as well and embellished with several die cut.  A sweet little birthday sentiment finishes it all off. 

 
here's a look at the inside:


Card Details:
 
Copic Colors:
Skin: E000, E00, E11, E04, R20
Hair: Y21, Y26, E57
Black: C3, C5, C7, C9
Purple: V04, V09, V15
Orange: YR12, YR15, YR18
Green: YG21, YG25, YG67
 

Monday, October 22, 2018

La-La Land Crafts Black and Turquoise

Hello!  Today, I'm sharing a nontraditional Halloween Card using Black and Turquoise!  That's the theme this week at La-La Land Crafts!  In order to create my card, I stamped out my bats, colored them up with Copics and cut them out using my Scan N Cut 2.  Then I chose some fun patterned paper in the turquoise and black color scheme and layered it all together.  I die cut the Halloween Sentiment Die and snipped out the pumpkin so I could use my little bat as the "O"  Then I added some die cut flags and a couple of ghosts to finish it off.  So cute!!
 
 
here's a look at the inside:
 
 
Thanks so much for stopping by!  Have a great day!!!
Card Details:

Copic Colors:
Bat: W0, W1, W3, W5, W7, W9, R20


Monday, October 15, 2018

La-La Land Crafts - Pumpkin Patch


Hello! This week at La-La Land Crafts the them is Pumpkin Patch!  For my card, I decided to create a fun little scene using all the fabulous dies from this company!  First, I stamped out these sweet little images and colored them up using my Copics.  Then I cut them out with my Scan N Cut 2 and set them aside.  Then I used some grey patterned paper for my sky and layered two hills on top of that.  I trimmed the die cut fence so that it would sit at an angle and added the tree from the Halloween House Add On set.  Then I die cut a circle for the moon and added two spooky ghosts.  I cut a ton of little pumpkins also from the Halloween House Add On set and scattered them throughout the scene.  Then I used the Trick or Sweets Stamp set and twigs die to create a little pumpkin patch sign.  To finish off my card, I stamped out my sentiment at the top and heat embossed in white and then popped on my two little characters with foam tape. 


here's a look at the inside:


Card Details:


Double Stitched Hills Border Die
Frightful Fence Die 
Scalloped Rectangles Die
Stitched Pennants Die


Copic Colors:

Skin: E000, E00, E11, E04, R20

Hair: C3, C5, C7, C9 and E35, E37
Black: C5, C7, C9

Purple: V04, V09, V15

Orange: YR12, YR15, YR18

Yellow: Y21, Y26
Green: YG21, YG25, YG67


Thursday, October 11, 2018

La-La Land Crafts Treat Topper Tutorial

Hello!  Today, I'm popping on to share with you a tutorial on how to make your own treat toppers using La-La Land Crafts supplies.  These are perfect for any occasion and such a sweet way to give holiday goodies. 

What you will need:

Plus...
Patterned Paper (I used Doodlebug Dot-Stripe Rainbow Petite Prints)
Multi-medium Matte Glue
Bone folder
Ink- Memento Tuxedo Black
Clear Plastic Treat Bag
Candies/goodies
Scissors
Die Cut Machine
Foam tape
White Cardstock
Copic-friendly Cardstock
light blue cardstock
Copic Markers
Strong Adhesive (like score tape)

Coloring...
Skin- E000, E00, E11, E04, R20
White- C1
Red- R24, R27, R56, R59
Green- YG25, YG67
Blue- BG53, BG57
Yellow- Y21, Y26

Let's Get Started...

 
Step #1: gather your supplies. Trim your clear plastic treat bag to desired length.  This will depend on how many goodies you want the bag to hold.  Then die cut a rectangle out of white cardstock using the Scalloped Rectangles Die.  I used the second to largest die, but you can use whatever size best fits your treat bag.  Then use your bone folder to score a line down the center of your rectangle and fold in half. 

Step #2: Fill your clear plastic treat bag with your goodies, fold the top, and staple twice (once on each side). 

Step #3: Die cut some trees out of green patterned paper using the Three Christmas Trees Die.  Using a pair of scissors, trim off the smallest tree from the die and glue to the back of the folded rectangle.  Then use the Jolly Elves Stamp set to stamp out "To" and "From" next to the tree.  This will be the back of your treat topper. 


Step #4: Using some light blue cardstock, die cut a hill using the Double Stitched Hill Border Die.  Trim the sides to the desired length so the hill will fit inside of the rectangle. Stamp out your sentiment and trim to a skinny rectangle.  Also, stamp out your elf on Copic-friendly paper and color him up with your Copics.  Then, using your scissors, trim him out. 


Step #5: Glue the blue hill onto the front side of your treat topper.  Then add your two trees, and pop your elf on top using foam tape.  Place some adhesive on the back our your sentiment and slip that on to the front of the topper as well.  Slide the topper on top of the treat bag so that it covers the stapled portion. 


Step #6: Add some strong adhesive to your topper and glue into place. 
 

There you have it, one quick and easy treat topper using supplies you probably already have on hand.  Again, these are perfect for any occasion, especially the holidays!  I hope I've inspired you to try this out.  I can't wait to see what you create!  Thanks so much for stopping by!  Have a great day!

Monday, October 1, 2018

La-La Land Crafts Fall Leaves

Hello!  It's October 1st and I'm back to share with you another La-La Land Crafts card!  This week, the theme is FALL LEAVES.  For my card, I chose to work with Cool Beans Luka.  I colored him up with my Copics and fussy cut him out.  Then I used several of the amazing La-La Land dies to create and sweet Autumn Scene.  I die cut the hillside out of some green patterned paper and used the plaid paper as my sky.  Then I used the Twigs Dies to create some tree branches, added some die cut leaves and finished it all off with some die cut clouds and Filigree Pumpkins!  I just love how this turned out, really puts me in the mood for fall! 
 
 
here's a look at the inside:
 
 
Card Details:
Filigree Pumpkins Die: https://www.lalalandcrafts.com/Filigree-Pumpkins-Die_p_931.html
Cool Beans Luka: https://www.lalalandcrafts.com/Cool-Beans-Luka-Rubber-Stamp_p_400.html...
Stitched Sun and Clouds Die: https://www.lalalandcrafts.com/Stitched-Sun-and-Clouds-Die_p_749.html
Twigs Die: https://www.lalalandcrafts.com/Twigs-Die_p_934.html
Leaves Confetti Die: https://www.lalalandcrafts.com/Leaves-Confetti-Die_p_933.html
Double Stitched Hills Border Die: https://www.lalalandcrafts.com/Double-Stitched-Hills-Border-Die_p_704.html
Copic Colors:
Skin: E000, E00, E11, R20, E11
Hair: E43, E47, E49
Orange: YR12, YR 15, YR28
Blue: BG53, BG57
Shirt: E50
Green: YG21, YG25, YG67
 
Thanks so much for stopping by!  Have a great day!!
 

Monday, September 24, 2018

La-La Land Crafts Batty For You!

Hello!  I'm back again sharing a not-so-spooky card for La-La-Land Crafts!  Today, I'm using the New Batty For You Stamp Set!  This sweet little set is just so much fun to create with!  Love it!  

For my card, I chose some fun patterned papers, created a haunted house using the Halloween House Add On Die Set, and layered it all together to create a bright Halloween scene.  Then I stamped out my bat, colored him up with my Copics and popped him on top using some foam tape.  Then I added my moon, some die cut ghosts, and a couple of spiderweb die cuts.  I just love how this turned out.  All these elements coordinate so well together; it makes creating cards fun and easy!  


here's a look at the inside:


Thanks so much for stopping by!  Have a great day!

Card Details: